|
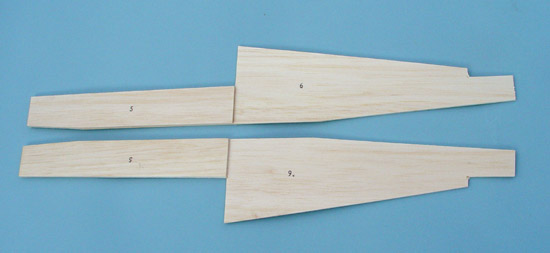
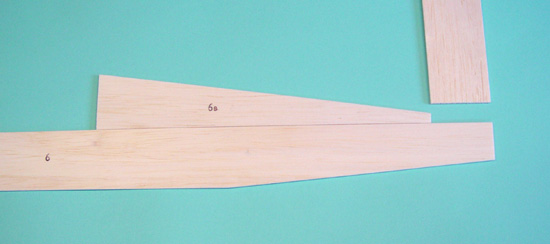
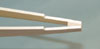
1. Glue fuselage parts 6a and 6b together leaving 50mm in from the rear to provide the tailplane
seat. If necessary use the tailplane itself for the correct spacing.
Click here for WHIZZZA! Build Sequence differences.

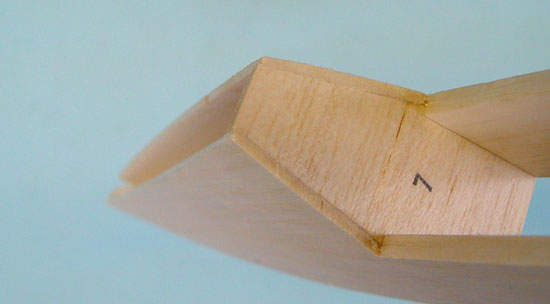
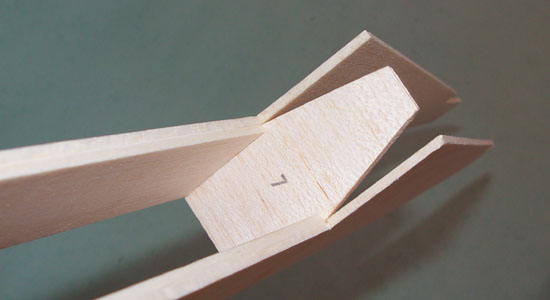
3. Keeping the fuselage sides parallel, glue former 7 in place at the rearmost extent of the doublers,
but only apply glue to the bottom half of the former as shown here.
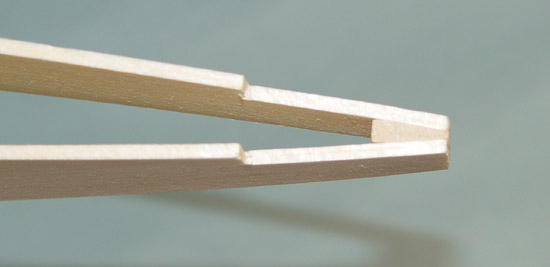
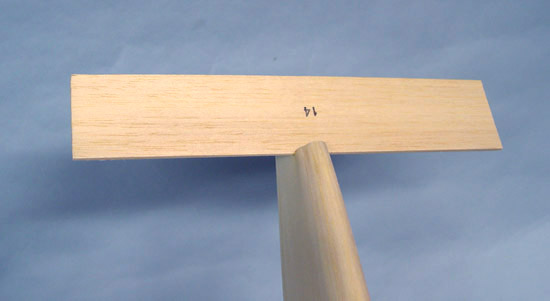
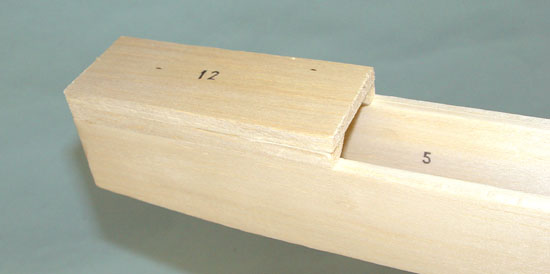
5. After trimming to the same length as the flat edged triangle pieces, upper deck 12 can then
be glued firmly into place.
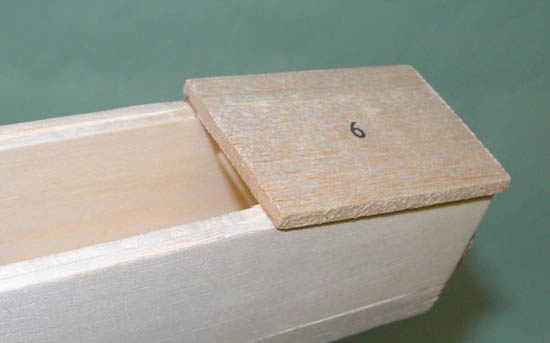
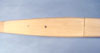
7. At this stage the rear lower sheet 10 should be glued into place and trimmed level with the
fuselage sides. This will add stiffness to the fuselage structure for the next step.
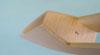
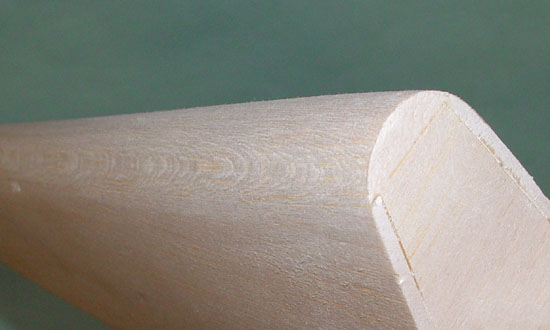
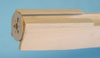
9. After sanding the upper fuselage side edges flat, glue upper rear deck 13 in place and when
set, round off to a smooth curve as shown here. However do not allow the depth of this deck to diminish towards the rear end.

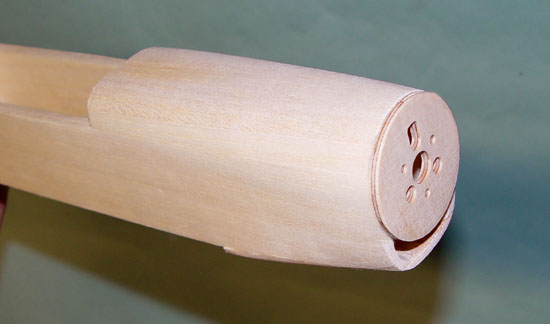
11. Shape the entire front of the model to blend in with the ply motor mounting disc. Pay particular
attention to achieving a smooth and aesthetically pleasing air intake below the disc, by filing th pieces of triangle stock
into smooth internal curves.

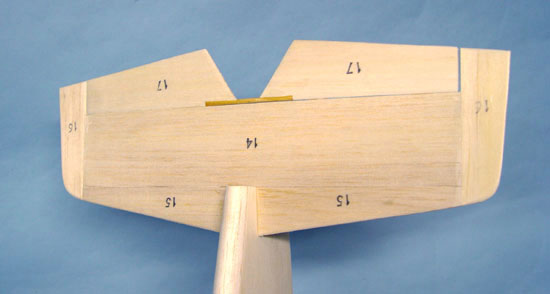
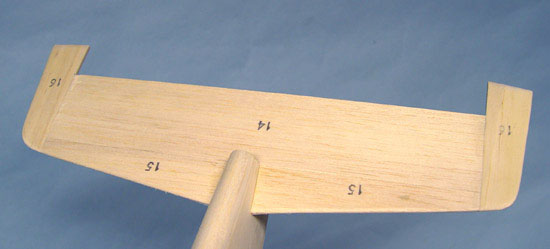
13.
Add the tailplane leading edges 15 and tail tips 16, making sure that the entire tailplane unit ends up even and flat. It
is better to use Epoxy than Cyano for the tips! Then proceed to round off the front edges to a smooth curve as shown here.
15. Glue the fin 18 in place ensuring it is both central and at 90 degrees to the tailplane. File
a notch in rudder 19 to provide operating clearance from the elevator joining dowel.

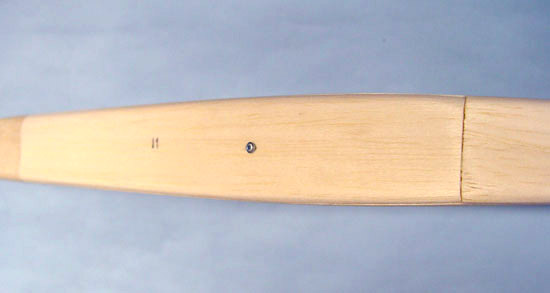
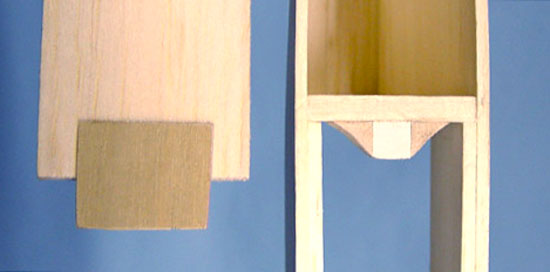
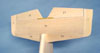
17. Add the ply tongue to the front of access hatch 11 after trimming it to fit snugly between
doublers 5 and under front lower deck 9. Glue the white plastic hatch retaining block to the front lower edge of former 7.
A good tip is to strengthen this union using two pieces of scrap triangle stock as shown here.
Click here for WHIZZZA! Build Sequence differences.
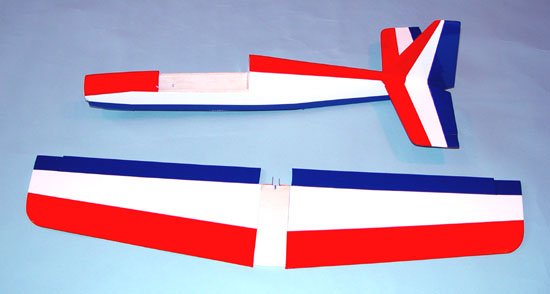
19. You may wish to cover the entire fuselage and wing separately at this stage as it is much easier
to do so before the wing is permanently fitted in place!
Click here for WHIZZZA! Build Sequence differences.
|