|
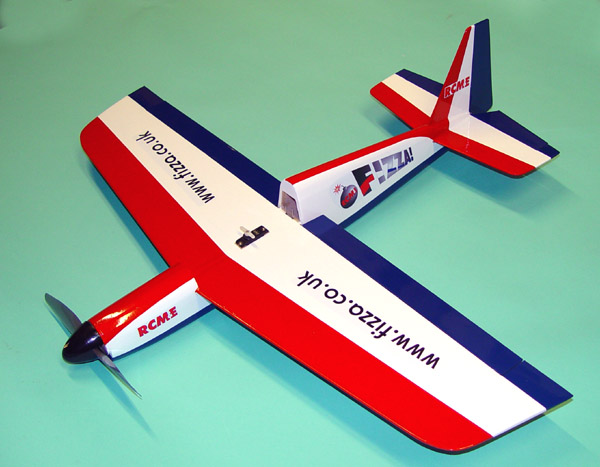
1. Glue the wing in place ensuring it is level with the tailplane and that equal distance exists
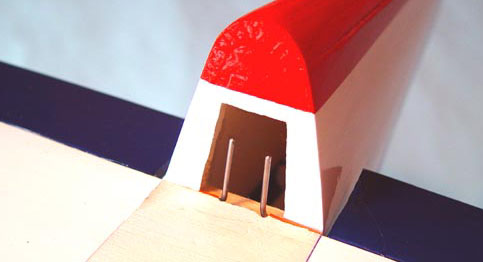
between the wingtip rear corners and the tailplane leading edge curves. If you have opted for torque-rod operated ailerons,
you will need to relieve former 7 as shown here.

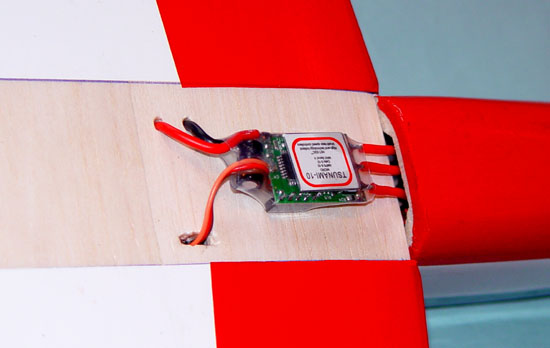
3. The aileron servo is fitted in a slot cut in wing panel 2 and can be secured using small squares
of scrap 1/16” ply and servo screws. Use your preferred linkage, “nipped tube links” and 18 SWG pushrods
were used on the prototypes to good effect.
Click here for WHIZZZA! Build Sequence differences.
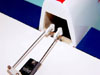
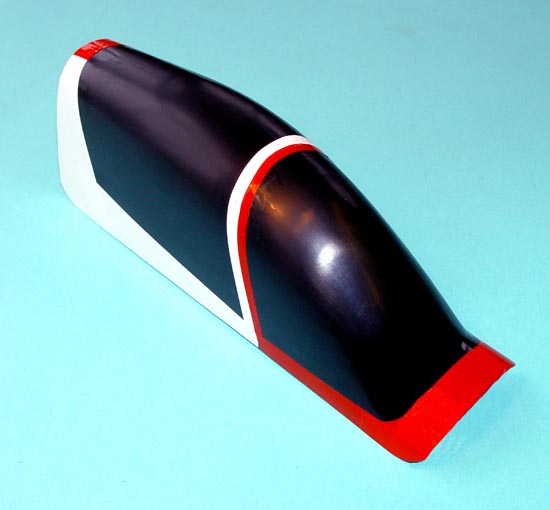
5. Adding appropriate trim to the supplied Canopy moulding will ensure that the canopy doesn’t
look out of place! This is simply carefully cut strips of Solarfilm ironed onto the canopy.
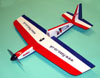
7. This excellent decal set is available from MTRONICS on 01943 461482 for just £3 and an A5 Stamped
Addressed Envelope – it will really make a difference to your model!
|