BVR Kits 45" Electric Tucano
Wing Construction
Home
Kit Contents
Build Sequence
Colour Schemes
Flying Photos
Customer's Models
Equipment and Set-ups
MODELS FOR SALE
Order Form

Click on any of the pictures to open an enlarged copy in a new window

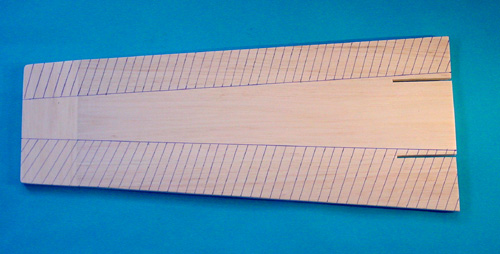
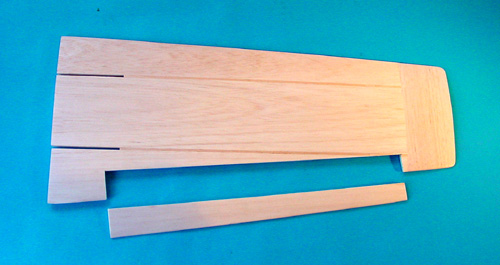
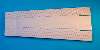
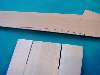
1) Weigh parts 1- 4 (and the two spacer strips) and if necessary re-arrange them so you will end up with left and right wing panels of equal weight.

step2thumb.jpg

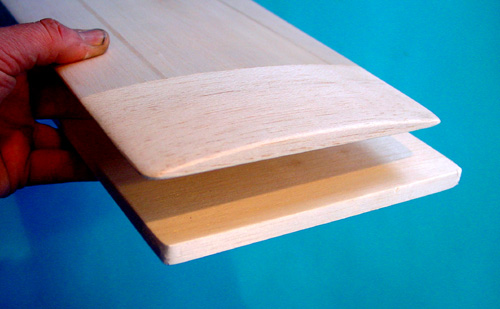
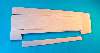
3) Using a razor plane and then a sanding block, profile to 3/16'' at the leading edge and 1/8 at the trailing edge (draw extent lines if necessary).

step4thumb.jpg


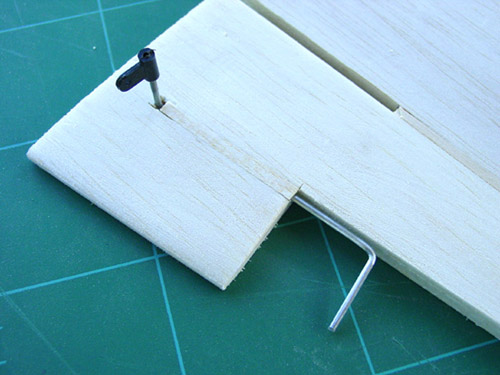
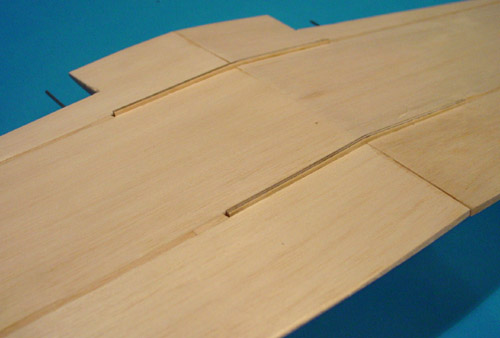
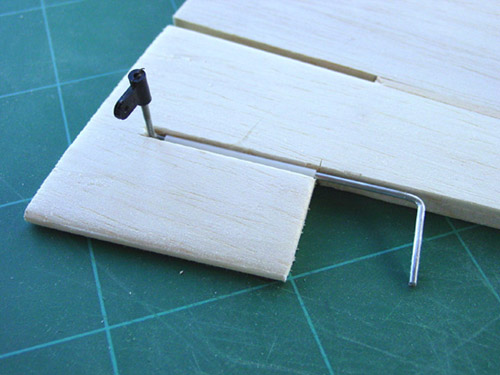
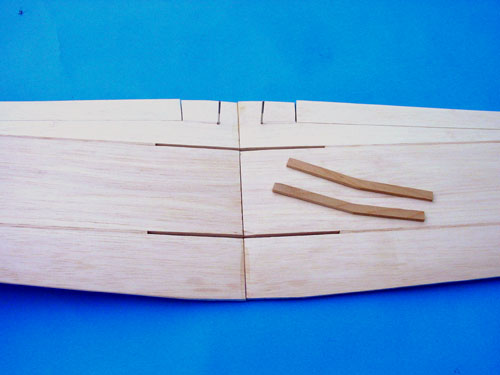
5) Cut a groove and insert the aileron torque rod. A tube is not necessary but if you insist on using one there is sufficient balsa depth!
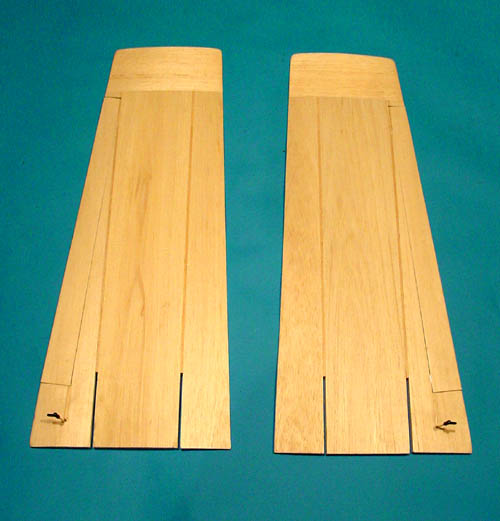

step6thumb.jpg


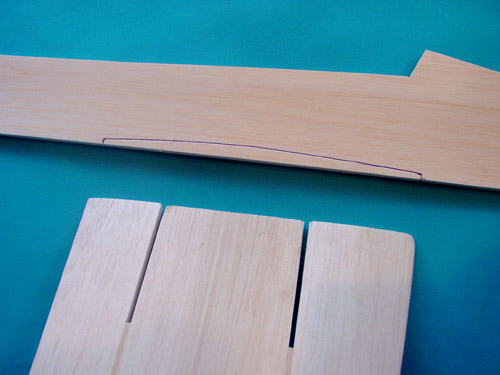
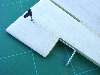
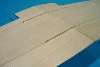
7) Round off leading and trailing edges. Your wing panels are now finished and should look like this!


step8thumb.jpg

9) Chamfer the mating surfaces and EPOXY the wing panels together with the chosen dihedral under each tip. DO NOT insert spars yet!

step10thumb.jpg

step1thumb.jpg

2) Assemble each panel on a flat surface, cleaning up the mating surfaces first, and mark the areas to be profiled.

step3thumb.jpg

4) Cut out the ailerons, and bevel them to allow 12mm each way movement measured at the root (i.e. 38mm wide) end of the aileron. Use preferred hinge method (tape, Mylar etc.)


step5thumb.jpg

6) Ensuring that no glue fouls the torque rod, insert a small piece of balsa to cap the groove and finish with a sanding block.


step7thumb.jpg

8) Draw round each wing panel root on its corresponding fuselage side (part 6) between the two saw-cuts. These are much easier to cut out before fuselage construction begins!

step9thumb.jpg

10)  When set, the spars (parts 5) can be glued in place using P.V.A. adhesive until they are level with the UPPER wing surface. When set, turn upside down and sand them level with the wing underside.

Now move onto the fuselage construction