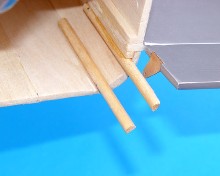
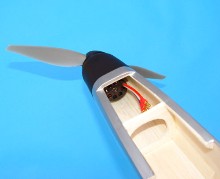
For the pusher version, fit the 4 motor
mounting dowels (the amount of dowel protruding from the rear of the model is determined by the length
of the motors you choose). After marking accordingly, epoxy the dowels in where shown - this is the one circumstance where
liberal use of epoxy is acceptable, as the dowels will need to be extremely secure especially for Brushless applications.
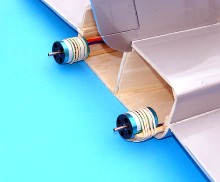
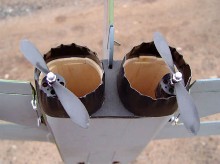
The
twin pusher 400BL motors are simply taped or elastic banded onto the dowels, ensuring the correct thrustline. TORNADO 2815
/ 2900s are ideal for 8 cells with APC ''E'' 4.7 x 4.2 props, 2815 / 2000s or MEGA 16/15/4s work well with 10 cells and 5x5
props.
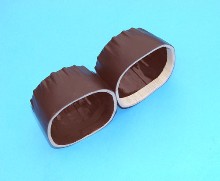
To
increase the adhesion area of the jetpipes, they should be lined with the thin strips of soft 1/8'' endgrain balsa part 29.
They can be painted black to match the mouldings if desired.
The
jetpipes should only be tack glued in place at 3 or 4 points as they will need to be removed for motor access / replacement.
You may have to chamfer the dowel end slightly so they dont foul the moulding.
A
thin piece of card or 1/32'' ply between the jetpipe mouldings cut to an ''hourglass'' shape and painted black nicely finishes
off the rear end of the model.
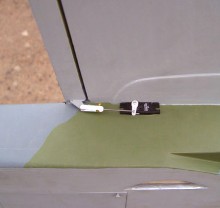
The
aileron servos are positioned in apertures made under the wing in sidepods 14. They can be secured by screws or simply hot
melt glue; there is very little force acting upon them in fact a prototype was test-flown inadvertently with them simply pushed
in and they didnt move!
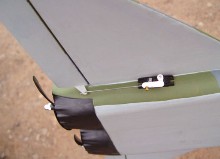
The
elevator servos are fitted in the same way. If you have TX mixing you may wish to be able to mix them for use as tailerons.
If using a Y-lead, ensure that the two servos you choose are of OPPOSITE rotation!
If
all your servos rotate the same way and you do not have TX mixing, this is simply remedied by mounting ONE servo 5mm lower
and having the output arm operate the elevator from ABOVE the servo instead.
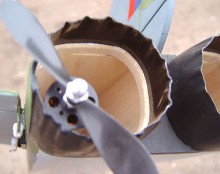
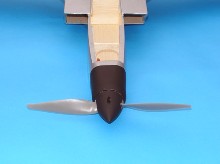
On
the front-motored version, access is via the canopy hatch. You should be able to insert the motor between former 10 and topsheet
24, but a large hole can be cut in former 10 and the motor dangled in on its wires if desired. If using a can type 600BL motor
rather than an outrunner, support the rear of the can with a wedge of balsa. If using an outrunner such as the AXI 2820/10,
beef up the front of the model to give maximum resilience to resonance.
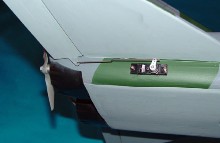
The
spinner on the front-motored version is blended in using the 10mm front collar provided, giving an almost seamless transition
from nose to spinner.
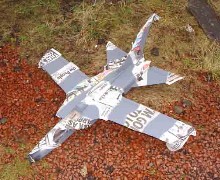
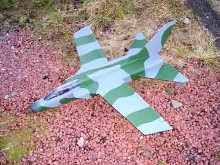
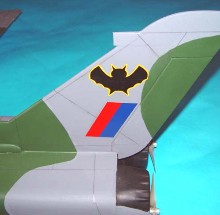
The
prototypes were all covered in Silver Solarfilm or Easycoat, wiped with Prymol to etch the surface, and airbrushed with grey
Humbrol Enamel (Matt 27 to be precise). If you wish to use the 1980s GR-1 camouflage then mask the relevant areas with low-tack
masking tape and newspaper...
...And
airbrush the green onto the grey. Humbrol Dark Green (Satin 65 to be precise) gave a pleasing finish to the model.
The
decals and bat are simply cut carefully from Solartrim, but a full decal set for this model is available from OVERLANDER (01524
793328). Panel lines were done with a 2B pencil which has an excellent effect.