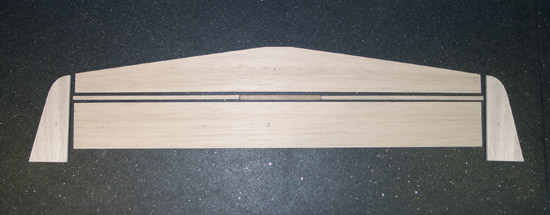
BVR Kits Fizza

Wing Construction
Home
Order Form
Build Sequence
Decals
Flying Photos

Click on the pictures to open a larger version in a new window

1. Locate 
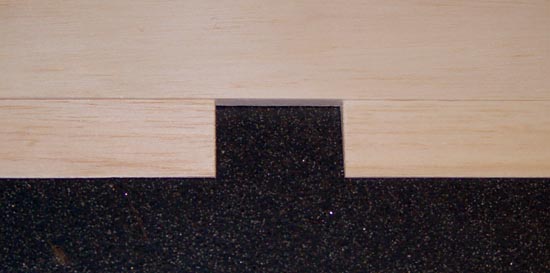
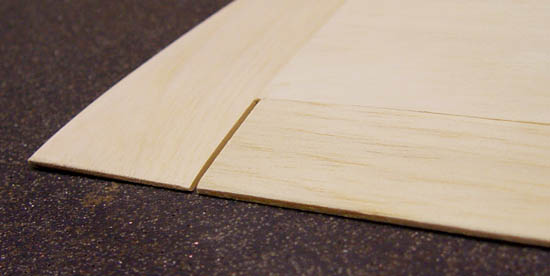
and assemble panels 1 and 2 using medium cyano remembering to fit ply spar and spacer strips; the mating surfaces may need to be cleaned up with a sanding block to ensure a good joint. Add the tips part 3 using 5-minute epoxy (after checking the mating surfaces and levelling with a sanding block if necessary) noting that the front protrudes by 3mm (IMPORTANT!)

Click here for WHIZZZA! Build Sequence differences.


fizzawingthumb2.jpg


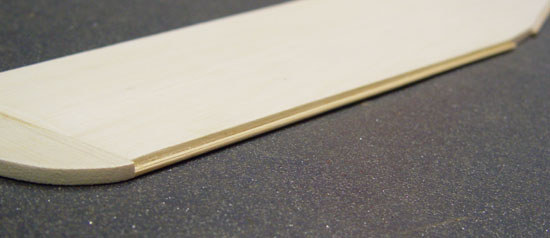
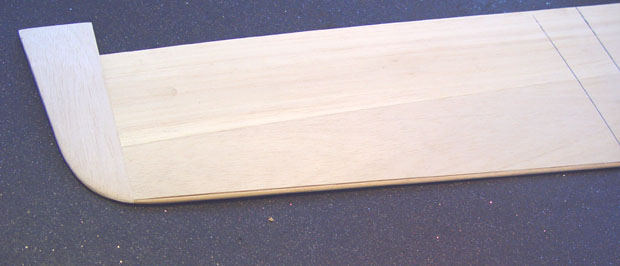
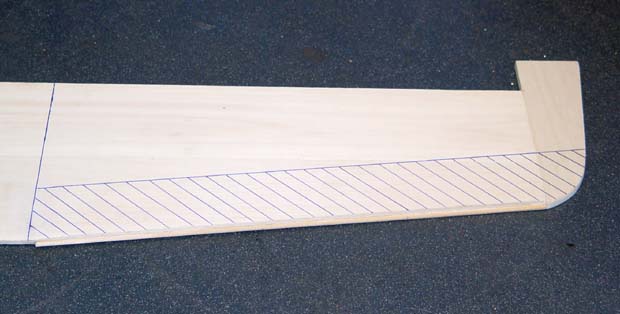
3. Draw a profiling extent line 45mm behind, and parallel to, the front edge of wing panel 1 as shown here with cross-hatch marks. These dictate the area where material needs to be removed from.


fizzawingthumb4.jpg


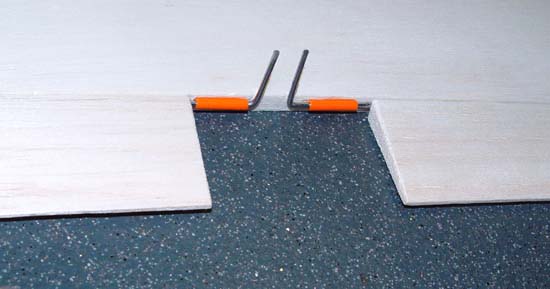
5. Trim ailerons 4 in equal amounts so when fitted they will have a 55mm gap between them at the root. They will be hinged after covering using your preferred hinge method. The shape of the aileron stock provides the trailing edge taper, on a flat surface sand out any mismatch between the ailerons and wing panel 2 if necessary.

fizzawingthumb6.jpg


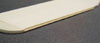
7. Finally, sand the rear portion of the tips 3 to match the taper of the ailerons. This completes the wing build sequence.


fizzawingthumb1.jpg


2. Glue the 3mm hardwood dowel from the protruding part of the wingtip to the root on a flat surface such as your modelling board so that the bottom edges of wing panel 1 and the dowel rest on the board. Trim them (in equal amounts) so there is a 2-inch (51mm) gap between the dowels at the roots to clear the front fuselage decking later.

Click here for WHIZZZA! Build Sequence differences.

fizzawingthumb3.jpg

4. Using first a razor plane then reducing grades of abrasive paper and a sanding block, profile the leading edge of the wing down to the level of the dowel, avoiding going too far and inadvertently putting a “flat” on the upper surface of the dowel. Sand the tip-to-dowel union to give a smooth and continuous curvature as shown.

fizzawingthumb5.jpg


6. Make up the torque rods using the piano wire and outer tube supplied and carefully glue the outer tubes to the rear of wing panel 2 as required. Then drill the ailerons to firmly slide over the torque rods and test for smooth operation.

fizzawingthumb7.jpg

Now move onto the fuselage construction