BVR Kits 45" Electric Tucano
Fuselage Construction
Home
Kit Contents
Build Sequence
Colour Schemes
Flying Photos
Customer's Models
Equipment and Set-ups
MODELS FOR SALE
Order Form

 Click on any of the pictures to open an enlarged copy in a new window

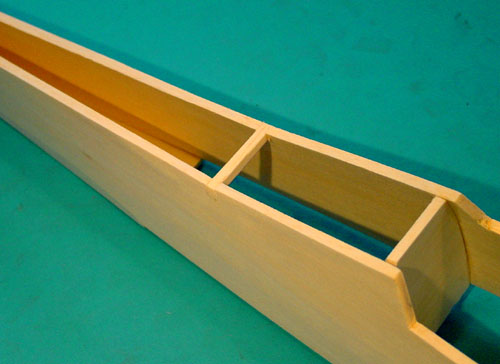
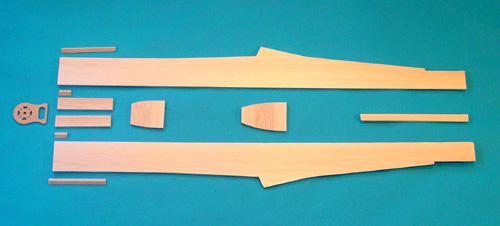
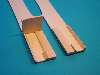
1) To begin fuselage construction use fuselage sides 6, doublers 7, 2 30mm triangle pieces, triangle stock 7B, formers 8, 9 & 10, and fin post 11.

2thumb.jpg

 
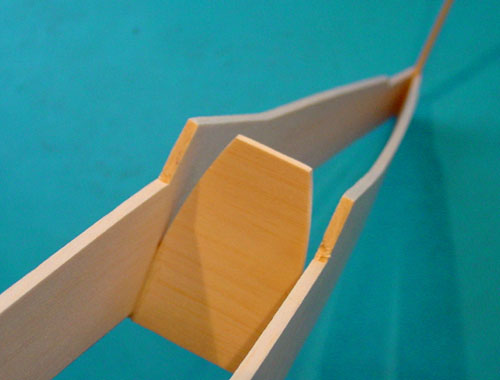
3) When joining fuselage sides using formers 9 & 10, only epoxy HALF WAY DOWN the formers!


4thumb.jpg

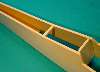
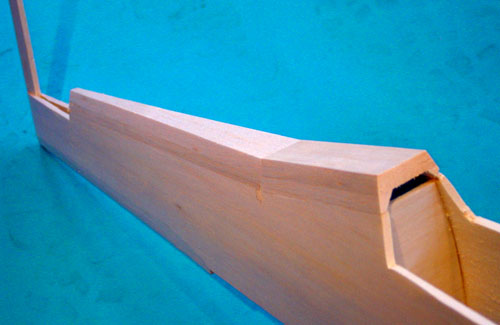
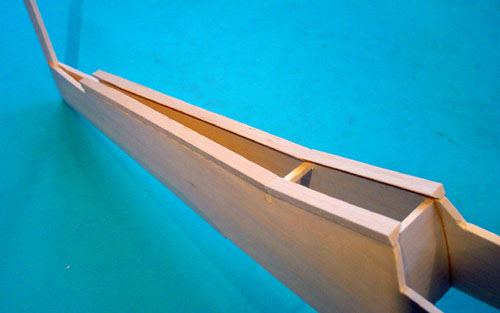
5) The "flat" edged triangle stock is then glued on the fuselage sides...
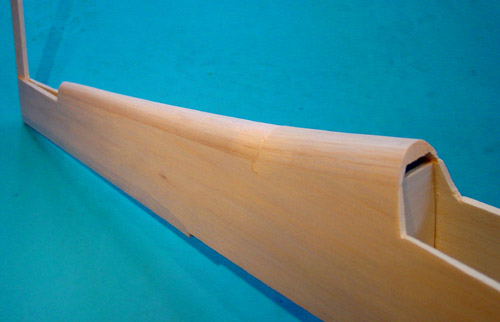
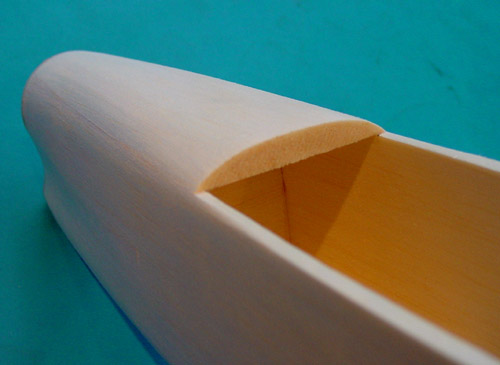
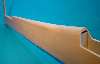


6thumb.jpg

 
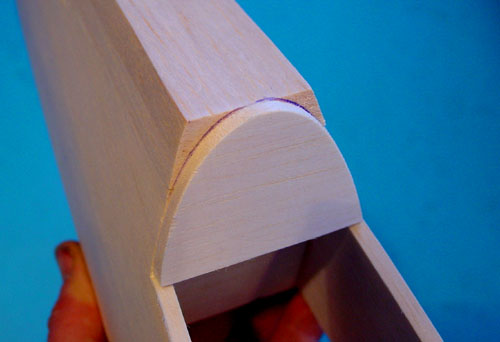
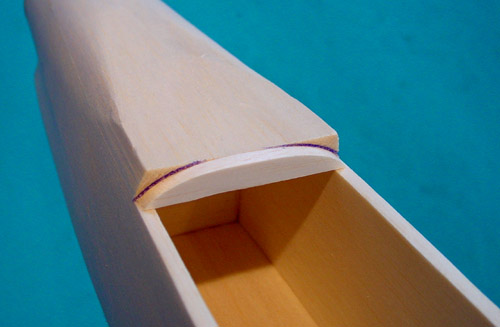
7) Drawing round part 24 acts as a shaping guide for the rear fuselage decking...
 

8thumb.jpg

 
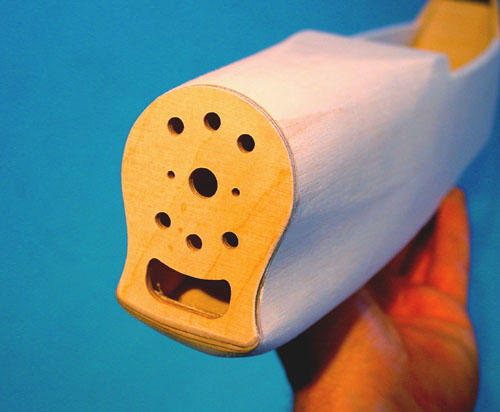
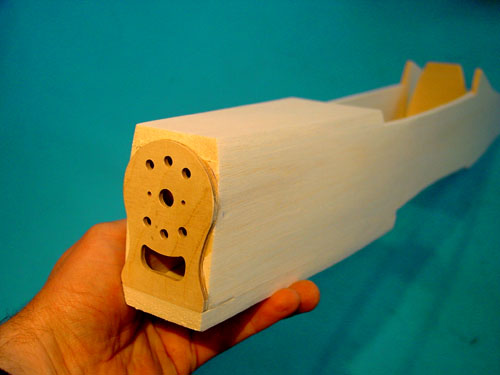
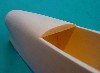
9) After nose former 8 has been epoxied into place, parts 12 & 14 can be added.


10thumb2.jpg

 
11) Drawing round part 22 acts as a shape guide for the rear of part 14...


12thumb.jpg

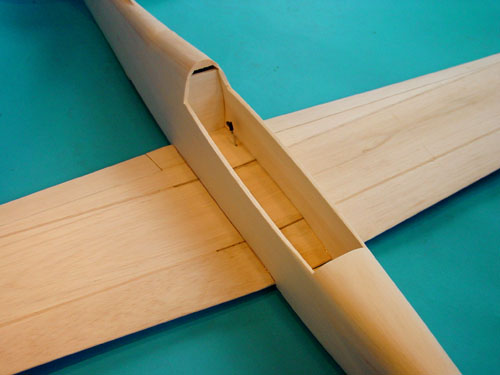
13) After checking squareness and alignment (adjusting one wing seat if necessary) the wing can now be epoxied to the fuselage.
 

1thumb.jpg


2) The doublers 7 and triangle stock 7b denotes the position of former 9.
 

3thumb.jpg


4) A small 3/16" square peg will help hold the fuselage rear deck in line, saving frantic finger-work!
 

5thumb.jpg

 
6) ...after which parts 15a & 15b are glued in place and trimmed.


7thumb.jpg

8) ...which can then be shaped accordingly, making sure to maintain the two-stage decking taper!

9thumb.jpg

10) These pieces can now be carved and sanded to shape, including the characteristic "groove" which is achieved using abrasive paper wrapped round a small empty aerosol can or a similar cylindrical object.

11thumb.jpg

 
12) ...which can now be carved and sanded to shape.


13thumb.jpg

Now move onto the tail surfaces